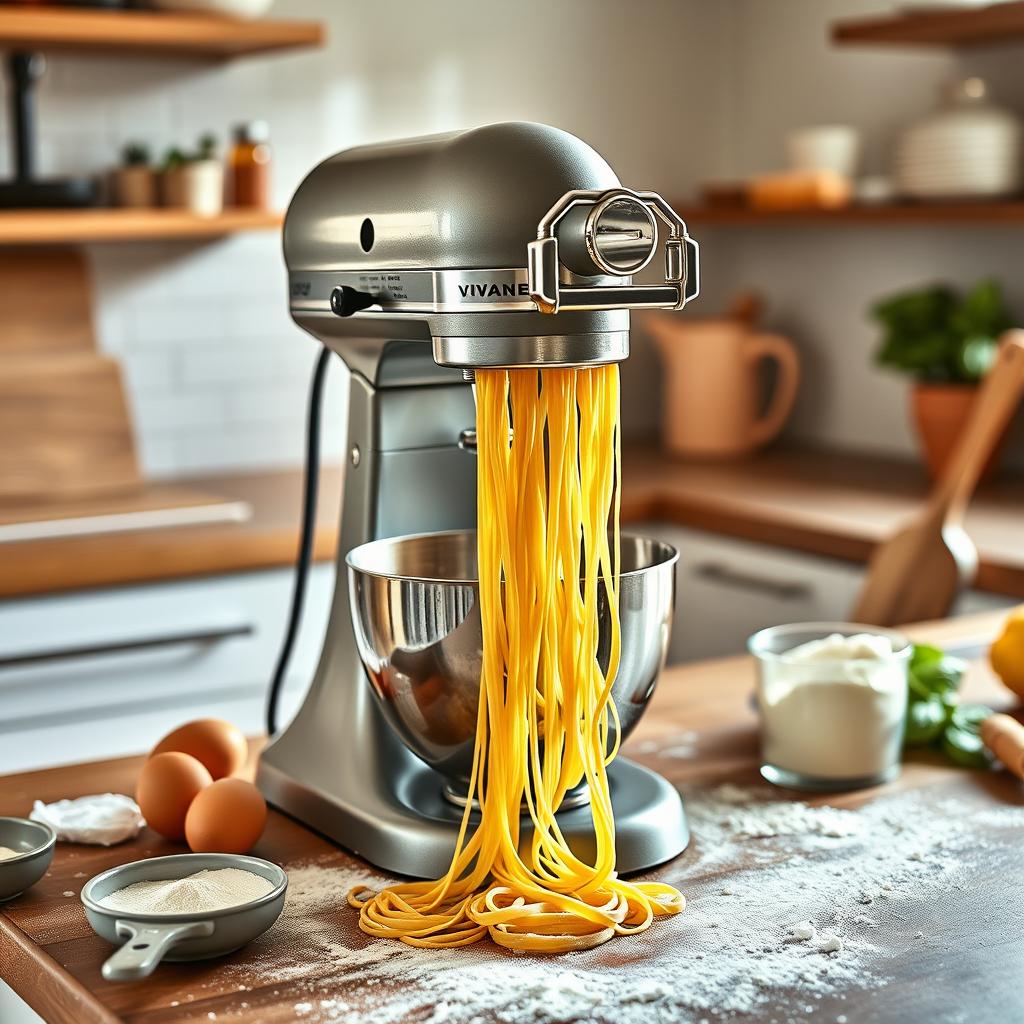
- It eliminates the guesswork of rolling and shaping dough you’ll get consistent results every time.
- Perfect for pasta lovers and home cooks craving fresh, customizable flavors.
- No need for advanced techniques; just attach, press, and transform dough into exquisite extruded shapes.
Whether you’re a seasoned chef or just dipping your toes into homemade pasta, the stand mixer pasta press transforms pasta making into a fun, foolproof adventure worth savoring.
Why Use a Stand Mixer Pasta Press?
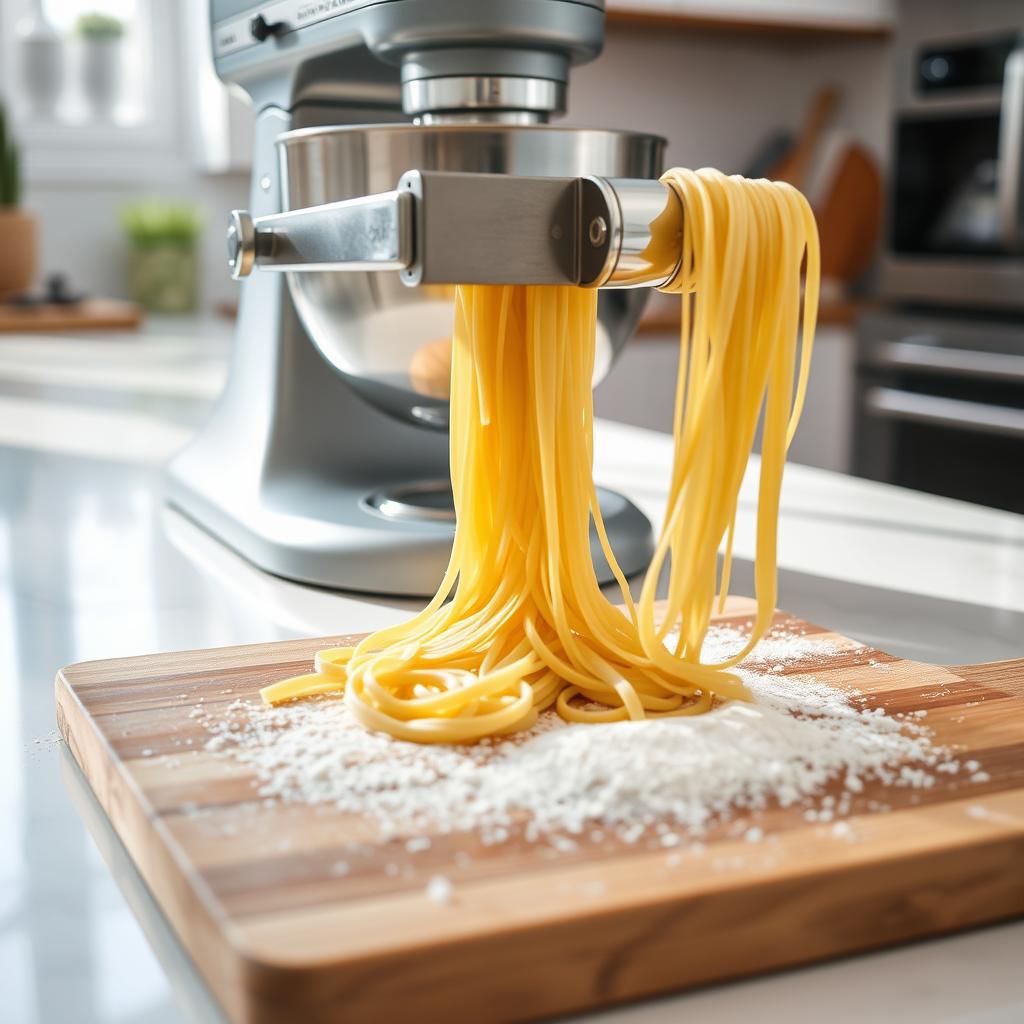
Time Saving Magic
Hand rolling pasta may feel nostalgic, but it’s undeniably time consuming. Enter the stand mixer pasta press: a tool designed to streamline the entire process. In minutes, you can create perfectly shaped noodles like spaghetti, fettuccine, or even extruded shapes. It’s not only quicker but also far less labor intensive. For those busy weeknights or impromptu dinner parties, this is a must have.
Consistency You Can Count On
Let’s face ithand cut pasta can lead to uneven shapes, which spoils the cooking experience and presentation. A stand mixer pasta press ensures every piece of pasta has consistent thickness and size, resulting in evenly cooked noodles every time. Your guests will be amazed at how professional your homemade pasta looks.
User Friendly and Versatile
Worried about complicated setups or tedious cleaning processes? Good news using a stand mixer pasta press couldn’t be easier. Most attachments are intuitive, meaning you don’t have to be a seasoned chef to make delicious, fresh pasta at home. They’re designed to fit most popular stand mixers, like KitchenAid models, seamlessly. Plus, with a variety of attachments, you can effortlessly switch between different pasta styles no extra tools required.Pairing your homemade pasta with nutritious accompaniments, like lean protein foods, completes a satisfying and balanced meal. There’s something truly rewarding about crafting pasta from scratch with a stand mixer pasta press. The right tools make all the difference and turn what once felt challenging into joyfully simple kitchen magic.
Ingredients You’ll Need
- Flour: All purpose or semolina
- Eggs: 2 large eggs (or vegan substitutes like olive oil + water)
- Salt: A pinch to enhance flavor
- Water: Adjust for texture, as needed
- Optional: Herbs, spinach, or beetroot for an extra twist
Now it’s over to you what colors or flavors are calling your name? Experiment with these ingredients, and your kitchen will become the heart of pasta perfection.
Step by Step: How to Make Pasta Dough Using a Stand Mixer
Crafting homemade pasta doesn’t have to be intimidating, especially when using a stand mixer pasta press. With the right approach, you’ll have fresh pasta dough ready to roll and press in no time. Let’s dive into the foolproof steps to mix, adjust, and prepare dough that’s primed for perfect sheets or extruded shapes.
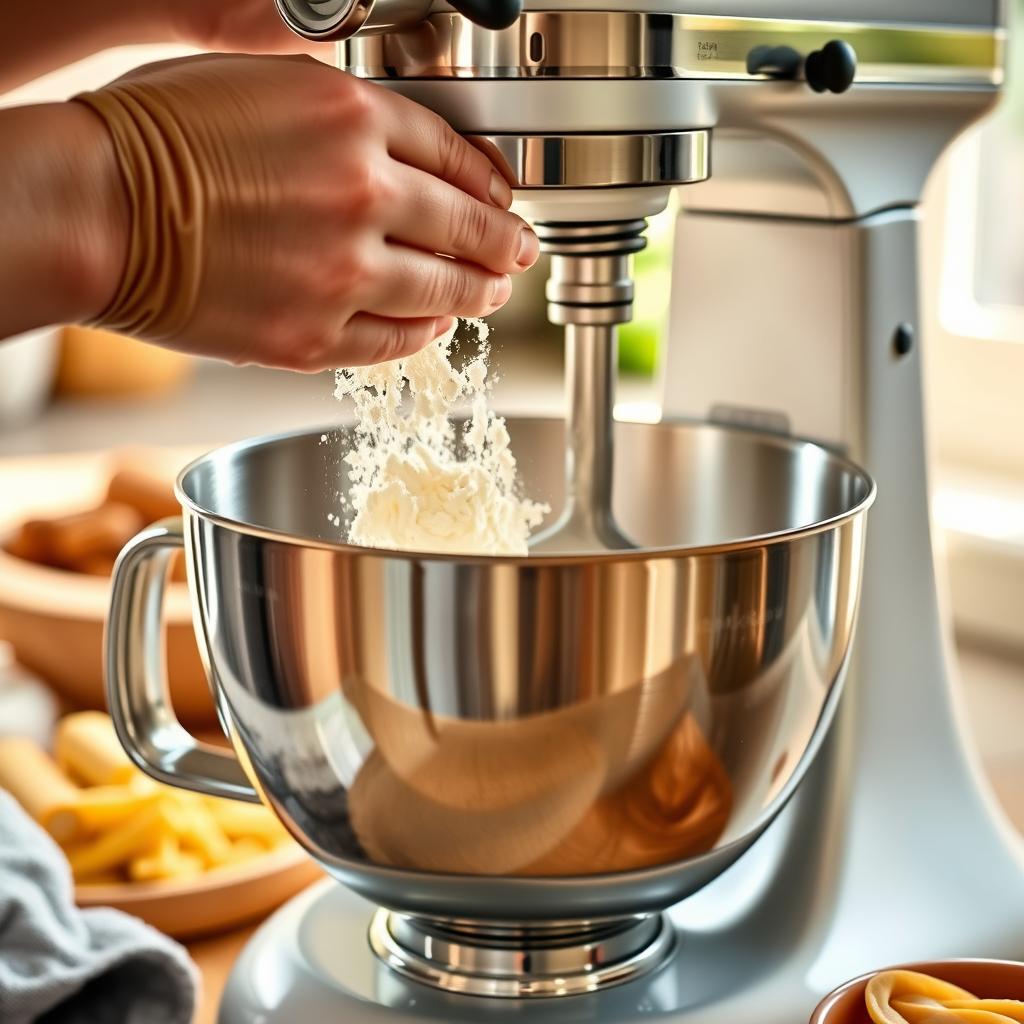
Step 1: Mixing Pasta Dough
Start by combining a few simple staple ingredients: flour, eggs, water, and a pinch of salt. Attach the flat beater to your stand mixer’s head and pour the flour into the mixing bowl, forming a small well in the center. Crack the eggs into the well and begin the mixing process at a low speed. As the dough starts coming together, slowly add water or olive oil (if desired) to enhance its pliability.
Are you wondering about proportions? Here’s a handy guide:
| Ingredient | Measurement | Purpose |
|---|---|---|
| All Purpose Flour | 2 ½ cups | Base structure for the dough |
| Eggs | 3 large | Add richness and silkiness |
| Water | 2-4 tbsp (adjust as needed) | Fine tunes consistency |
| Salt | ½ tsp | Enhances flavor |
Step 2: Adjusting Dough Consistency
Once the dough starts forming, you’ll want to ensure the texture is just right. Here’s a quick checklist to guide you:
- Too sticky? Sprinkle in small amounts of flour while continuing to mix.
- Too dry or crumbly? Gradually add water, one tablespoon at a time, until the dough holds together without flaking.
- Ideal texture: The dough should feel soft, pliable, and slightly tacky without sticking to your hands or the bowl.
Remember, achieving the perfect consistency is crucial, especially when using attachments like the pasta extruder. Slightly drier dough works better for shaped pasta, while silkier dough is preferred for sheeted pasta like fettuccine.
Step 3: Resting the Dough
Once your dough feels just right, it’s time to relax literally. Wrap the dough securely in plastic wrap and let it rest for 20–30 minutes at room temperature. Why is rest necessary? It allows the gluten in the flour to relax, making the dough easier to roll and shape into pasta sheets or extruded forms. Resting also enhances the elasticity, ensuring a smoother texture when you eventually press it.
Pro Tip: Troubleshooting Common Issues
Still feeling unsure? Here’s a quick rundown of potential hiccups and solutions:
- Dough feels stiff: Add a teaspoon of olive oil or a splash of water to loosen it up.
- Dough won’t come together: Knead it briefly with your hands to activate the gluten before resting.
- Dough sticks in attachments: Dust lightly with flour before feeding it through the press.
With these steps complete, you’re all set to roll, shape, and press your dough using your stand mixer pasta press. Ready to discover how attachments make pasta making even easier? Stay tuned as we explore that next!
Using the Stand Mixer Pasta Press
Attaching the Press to Your Mixer
First things first: securely attach the pasta press to your KitchenAid stand mixer. It’s straightforward simply align the attachment with the hub on your mixer and tighten the knob. Always ensure it’s properly locked in place before starting. Trust us, this step takes seconds but sets the stage for a smooth experience. If you’ve ever wrestled with kitchen tools, you know how important stability is!
Rolling Out and Feeding the Dough
Here comes the fun part! Begin by rolling your prepared dough into thin sheets. You can use the mixer’s pasta sheet roller for this step to achieve consistent thickness. Once ready, cut the sheets into manageable pieces and start feeding them into the pasta press. Don’t rush it’s a process that demands a little patience. As the press does its magic, you’ll see beautifully shaped pasta emerge from the attachment. Give yourself a moment to marvel you made this!
Choosing Your Pasta Type
One of the best features of the pasta press is its ability to create a variety of pasta styles. Whether you’re craving silky spaghetti, hearty fettuccine, or even fun extruded shapes like rigatoni, this attachment has you covered. Here’s a quick breakdown:
- Spaghetti: A classic choice for any sauce perfectly smooth and uniform strands.
- Fettuccine: Broad and silky strands ideal for cream based sauces.
- Extruded Shapes: Rigatoni, macaroni, and more great for baked dishes or chunky sauces.
Choose the die that matches your desired pasta shape and switch it out effortlessly. It’s a customizable experience that’s only limited by your imagination!
Safety and Handling Tips
Do you want the process to stay fun and stress free? Follow these simple safety tips:
- Never stick your fingers into the pasta press while it’s running.
- Handle the attachment with care, especially when switching dies or cleaning components.
- Keep surfaces dry to prevent slipping and ensure the dough doesn’t stick unnaturally during feeding.
By following these precautions, you’ll have a safe and enjoyable pasta making experience every time.
Mastering the Stand Mixer Pasta Press may seem like an art, but with practice, it quickly becomes second nature. So, are you ready to roll, feed, and savor delicious pasta like a pro?
Cleaning and Storing Your Stand Mixer Pasta Press
Keeping your stand mixer pasta press in top condition doesn’t have to be a hassle. With the right care techniques, you’ll ensure it lasts for years while maintaining its reliability for delicious pasta making sessions. Have you ever wondered if you’re cleaning or storing it properly? Let’s dive into the essentials to make sure you’re doing it just right.
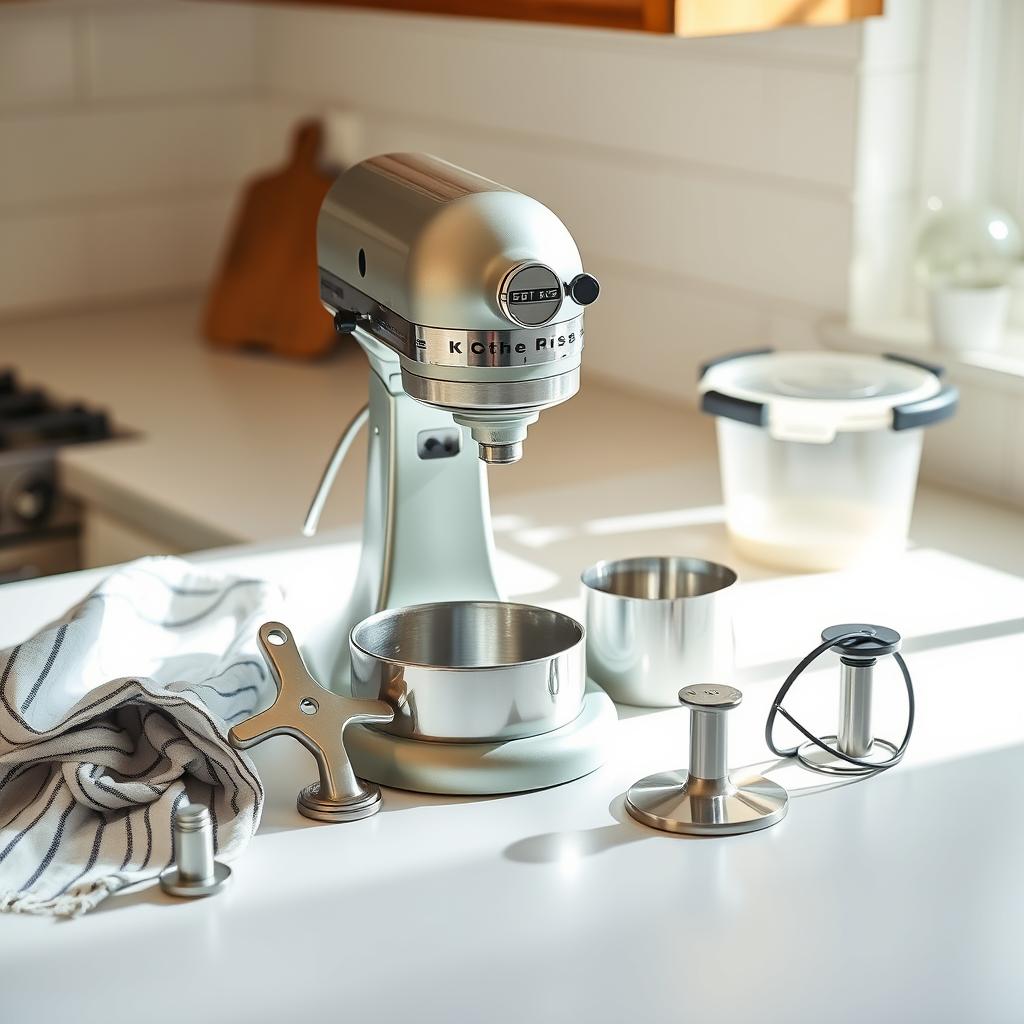
Quick Guide to Cleaning Your Pasta Press
- Hand clean only: Skip the dishwasher! KitchenAid pasta press attachments are not dishwasher safe. Use a dry brush or toothpick to remove residue from crevices and holes.
- Wipe gently: After brushing, use a damp cloth to wipe surfaces avoid soaking the press in water as it can damage internal components.
- Let it dry completely: Before storing, ensure every part is dry to prevent rust or mold buildup.
Proper Storage Tips for Long Lasting Use
- Store in its original box or a padded container to protect the attachment’s delicate pieces.
- Keep components in a cool, dry place to avoid exposure to moisture or extreme temperatures.
- Regularly inspect parts for wear and tear to address issues before they become bigger problems.
Common Mistakes to Avoid
It’s easy to make small errors that could impact your pasta press’s lifespan. Avoid using abrasive cleaners or metal tools these can scratch its finish. Resist the urge to leave food remnants inside after use; clean immediately to prevent hard to remove buildup. By taking these precautions, you’ll keep your pasta press functioning like new.
When you take the time to clean and store your pasta press correctly, you’re investing in unforgettable pasta making moments every time you use it. And isn’t that worth it?
Discover the Joy of Fresh Pasta at Home
Making fresh pasta with a Stand Mixer Pasta Press transforms what once felt like a daunting task into an exciting, easy process. With minimal effort, you’ll be rolling out silky sheets of pasta or creating perfectly extruded shapes that rival restaurant quality dishes. The versatility of the KitchenAid stand mixer attachments allows you to explore a wide range of styles, from hearty spaghetti to delicate fettuccine.
Try adding your own twist! Experiment with rich egg yolks for extra creamy dough or incorporate fresh herbs into your flour for a burst of flavor basil, anyone? The possibilities are endless. Adjusting the dough’s texture to suit different attachments gives you complete control over your creations, whether you’re crafting velvety ribbons or robust, extruded shapes.
Have you joined the pasta making revolution yet? Share your variations and stories with us in the comments below we’d love to know what flavors you’ve concocted!